Eating five to nine servings of vegetables per day might seem challenging, but not when you have a delicious and versatile source of fresh garden-grown green beans.
Also called string beans, they are able to grow in a vast array of climates (even your own backyard), meaning this popular choice is one of the few available year-round.
Green beans can be enjoyed crisp as an uncooked snack or mixed into casseroles for a hearty dinner. They’re also great roasted, grilled, or even pickled for an adaptable part of any meal.
How to pick fresh green beans
Before considering the many ways you can cook green beans, first you’ll want to begin with picking the ripest, freshest bunch. As with other green veggies, look for produce that is well watered, not moldy, and firm. Here are a few important things to look for:
- Well-shaped, clean, and crisp beans that are especially smooth. If they appear dried out, are rubbery, or feel rough, then they are not suitable for consumption. Additionally, the outline of the beans should not be bulging, but slick and straight.
- No snipped ends. You’ll be trimming the ends of green beans before cooking them, so there’s no need to purchase any that have already been cut. In fact, doing so prematurely can invite mold inside and welcome mushy tips, dryness, and shriveling, all of which compromises the flavor (and lifespan) of your purchase. If your grocery store only sells green beans that have snipped ends, then ensure they’re at least green and moist.
- Cold to the touch. The beans should be sold in an area of the store that is somewhat chilled. You’ll be refrigerating them when you get home as well, but it’s essential to secure from a grocery store that preserves the beans well.
- Look for variations on the name. Green beans don’t just have one name. They may also be called string, snap, wax, filet, or pole beans. French beans/haricot verts are another, skinnier variety of the bean, and the romano bean is a more broad, flat type. You’ll want to become familiar with the varieties your local grocer carries and choose the one that works best for your meal.
Once you’ve brought the green beans home, give them a good wash (which adds moisture, too) and then put into a plastic bag to store before cooking.
The different ways to cook green beans
There are endless ways to prepare green beans, some healthier than others (here’s looking at you, tempura batter).
In general, though, when preparing fresh green beans, the first step is to wash them thoroughly and then trim the ends. While trimming isn’t required, it does help to remove any of the tougher parts and also provide a nicer presentation once cooked.
Boiled green beans
This is the traditional, tried and true route to go. All you really need is a pot of boiling water filled enough to cover the amount of green beans you will be cooking. Once it’s reached the boiling point, drop in the veggies and a pinch of salt and leave them be for three to four minutes. Once done, remove the beans from the pot, dip them into an ice bath, and serve immediately. You’ll want to be sure not to boil for too long, otherwise the beans will become soggy and lose some of their flavor.
Steamed green beans
A rice cooker or steamer also comes in handy to really bring out the fresh flavor of the green beans and alleviate the worries of over-cooking. As a general rule, you only need to steam green beans for about five minutes, when they’ll come out a little bit crispy and a little bit tender. While they are absolutely delicious alone, you can also salt them lightly for an even more delicious side—or if you’re really feeling adventurous, throw in some nuts, dried cranberries, or crumbled cheese, too.
Grilled green beans
Yes, you can grill green beans just like you would a nice fillet of steak—if you’re going for a robust and smoky flavor, then this is a wonderful way to go. The trick, though, is actually keeping them on the grill. A grate with smaller spacing can help, or you can invest in a grill basket that can help achieve the charred taste without losing too many of the green beans to the fire.
To prepare the grill, set to high heat and give it a few minutes to warm up. While the grill is getting ready, toss a batch of cleaned and trimmed green beans into a bowl with a bit of olive oil and coat lightly. Then, place on the grill, either using a basket or lay perpendicular to the line of the grates. Keep them on long enough to sear the side and/or the ends (usually it takes just a couple of minutes), then rotate them carefully, and cook for another minute or so on the other side. Serve as is or sprinkle with just a little bit of salt and pepper for some added flavor. You can also squeeze some lemon juice while cooking to add a citrusy taste.
Roasted green beans
If you love the idea of grilled flavor but don’t like all the effort, then roasted green beans are another great option. The majority of prep for this task involves turning on the oven (425 degrees Fahrenheit) and waiting for it to preheat. Otherwise, follow the same procedure that you would if you were grilling the beans: wash, trim, and add a light layer of olive oil. If you’d like, you can even throw in a clove or two of diced garlic for some more intensity. Lay them out evenly in the pan for the best results, and then plan to roast them for about ten minutes.
Pickled green beans
Homemade pickled veggies have been a staple in the kitchen for centuries, even all the way back to the time of Julius Caesar. While it might sound like quite the undertaking, pickling veggies really just requires a few jars, a good brine, and some spices. Even better, with the pickling procedure, you don’t have to worry about foodborne illnesses and your green beans will be ready to eat in just a few hours.
Once you’ve cleaned and trimmed the batch of green beans, you can begin to prepare the brine. To get that classic tangy flavor, mix vinegar, water, salt, and sugar to your liking. Ideally though you’ll need about two to three cups of vinegar and two to three cups of water, as well as two tablespoons of salt, and a quarter-cup of sugar (although you can always adjust these amounts if you prefer something saltier or sweeter). Boil the mixture over medium heat, stirring frequently.
Then comes the fun part: Place the veggies in a few jars and pour the brine inside, adding any spices you desire. Cover the jar, and within an hour you’ll have some deliciously pickled green beans. If you have more time to work with, it’s best to let the beans sit in the brine for longer; the more they are together, the more sweet-and-sour flavor will be absorbed. You can store the jars in the fridge for up to ten days.
Great green bean recipes
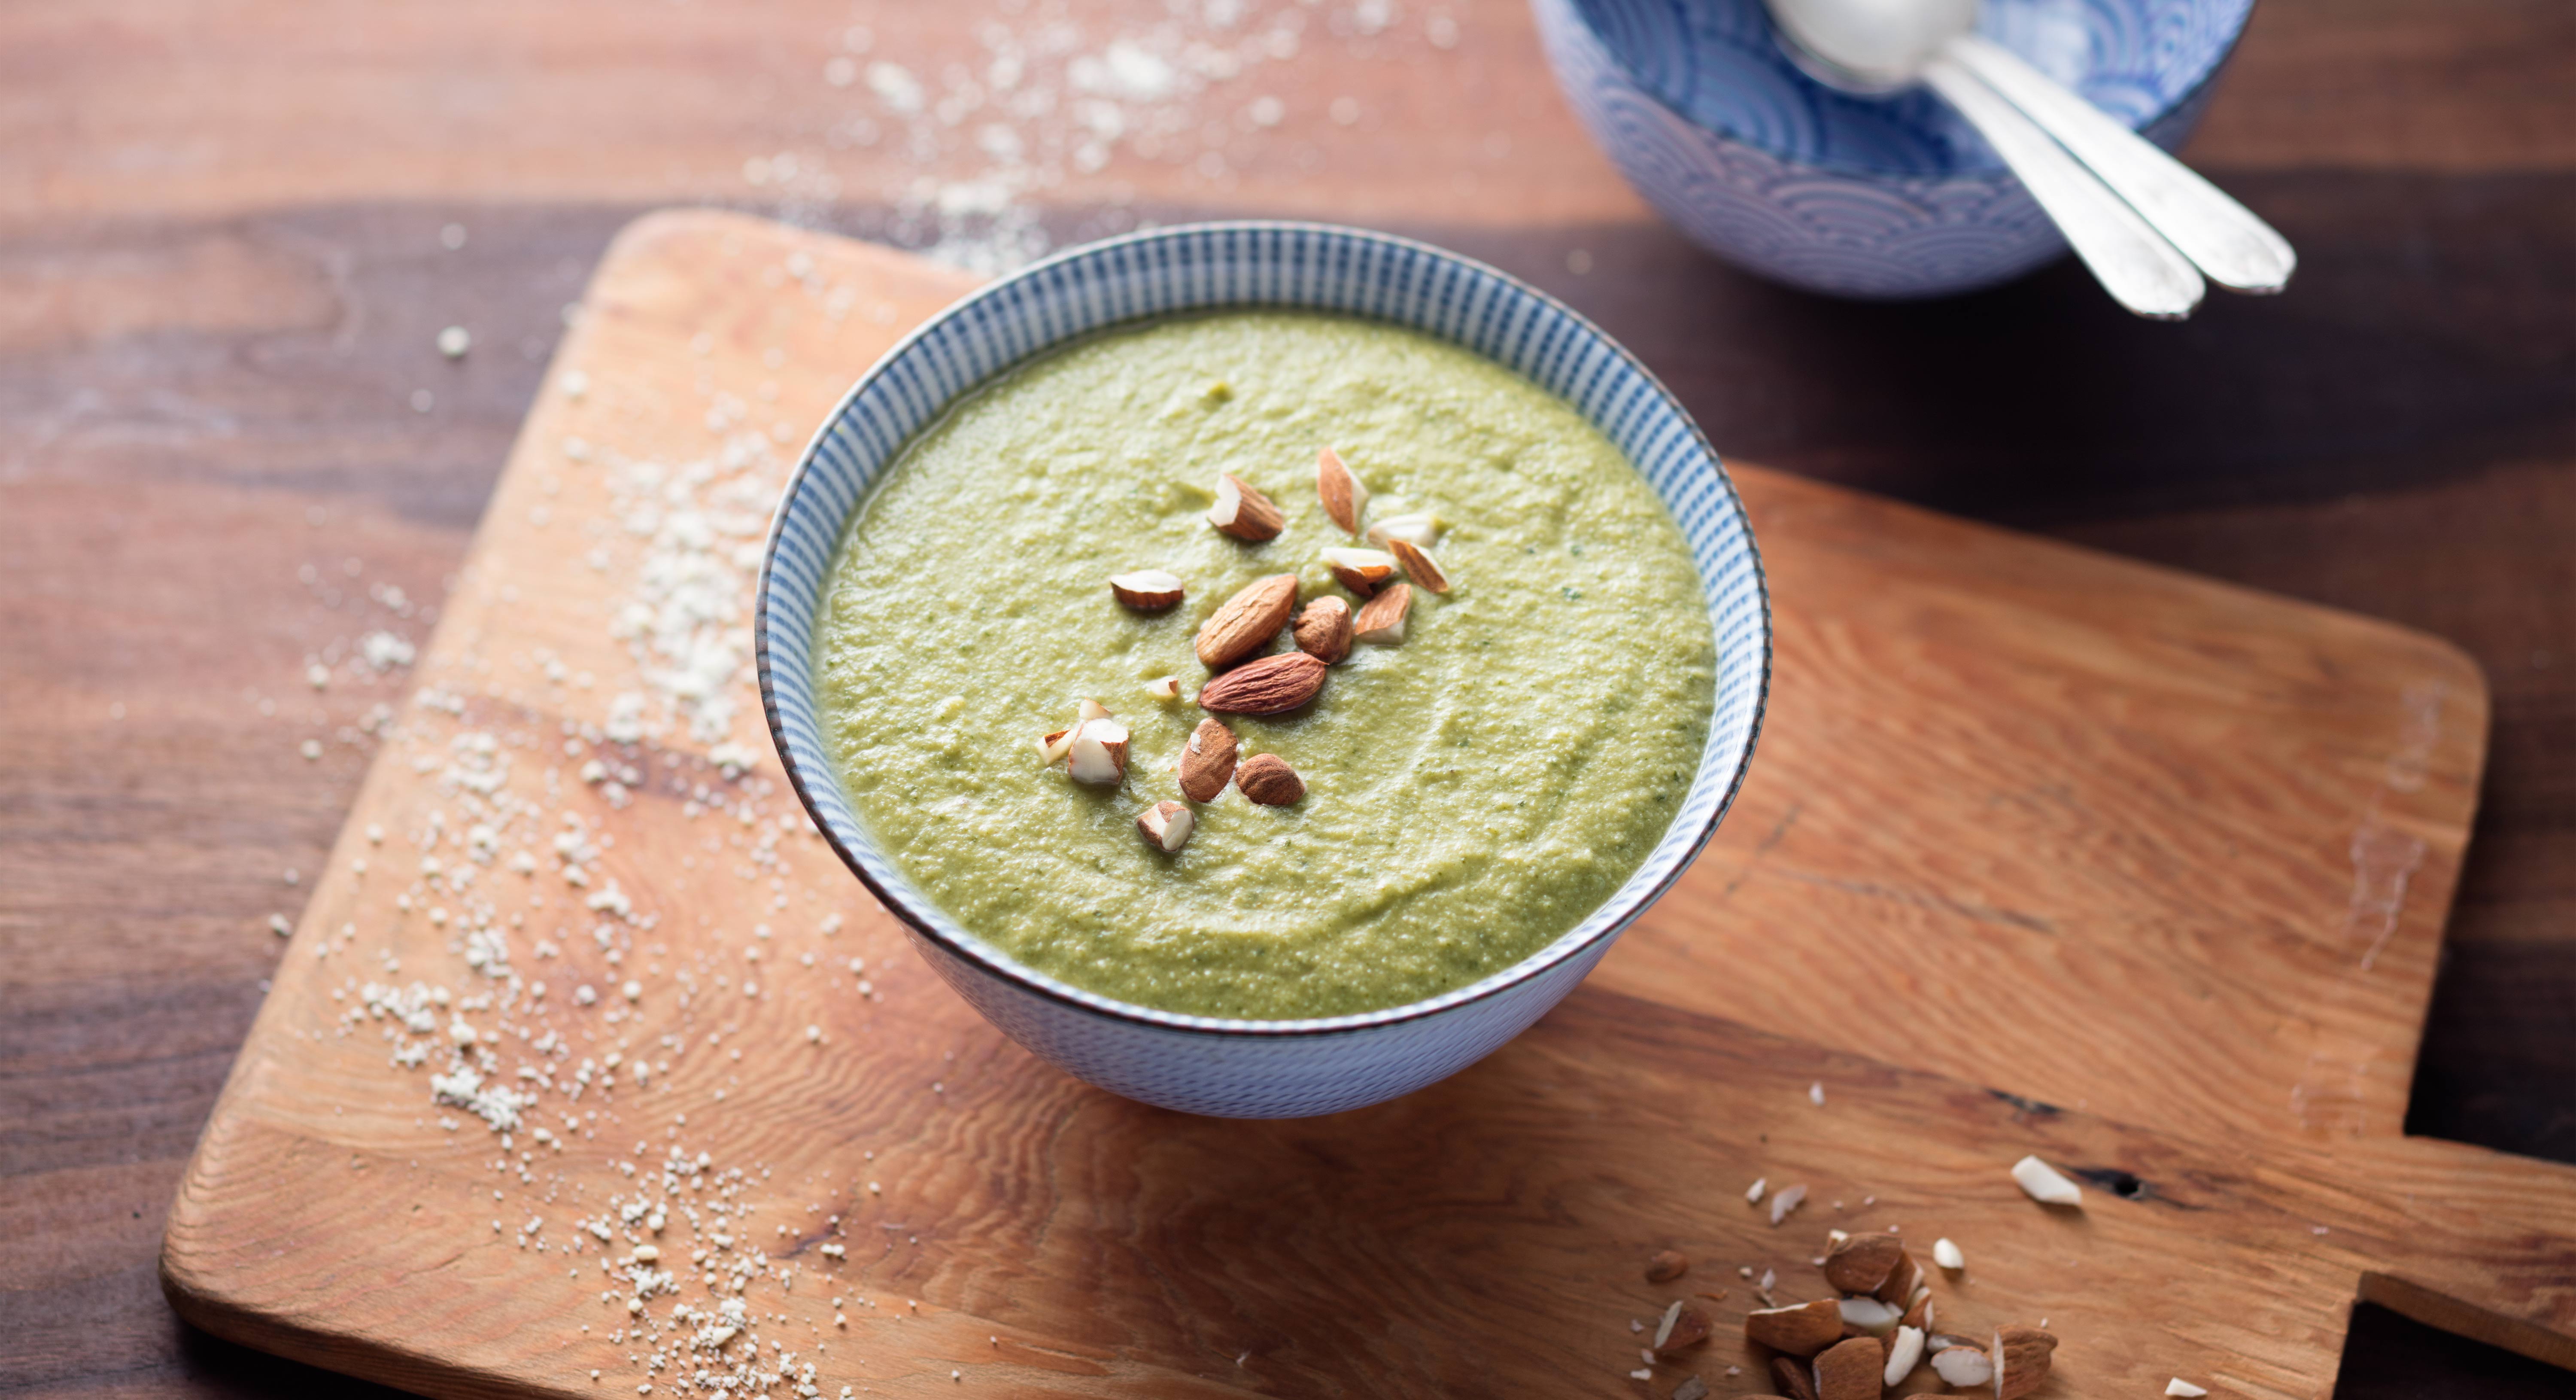
Almond Green Bean Soup
The crisp taste of fresh green beans and the creamy, nutty taste of almonds is a classic combo that takes on new flavor in this hearty soup. It’s simple and verdant, and dairy-free! Use a cup of almond flour (instead of cream) to add a mouthwatering thickness. To make you’ll also need some olive oil, onions, celery, garlic, vegetable stock, leafy greens, lemon juice, salt, and pepper. This is an easy meal to enjoy any night for dinner—pair with a fresh salad, too, for a complete veggie-centric meal.
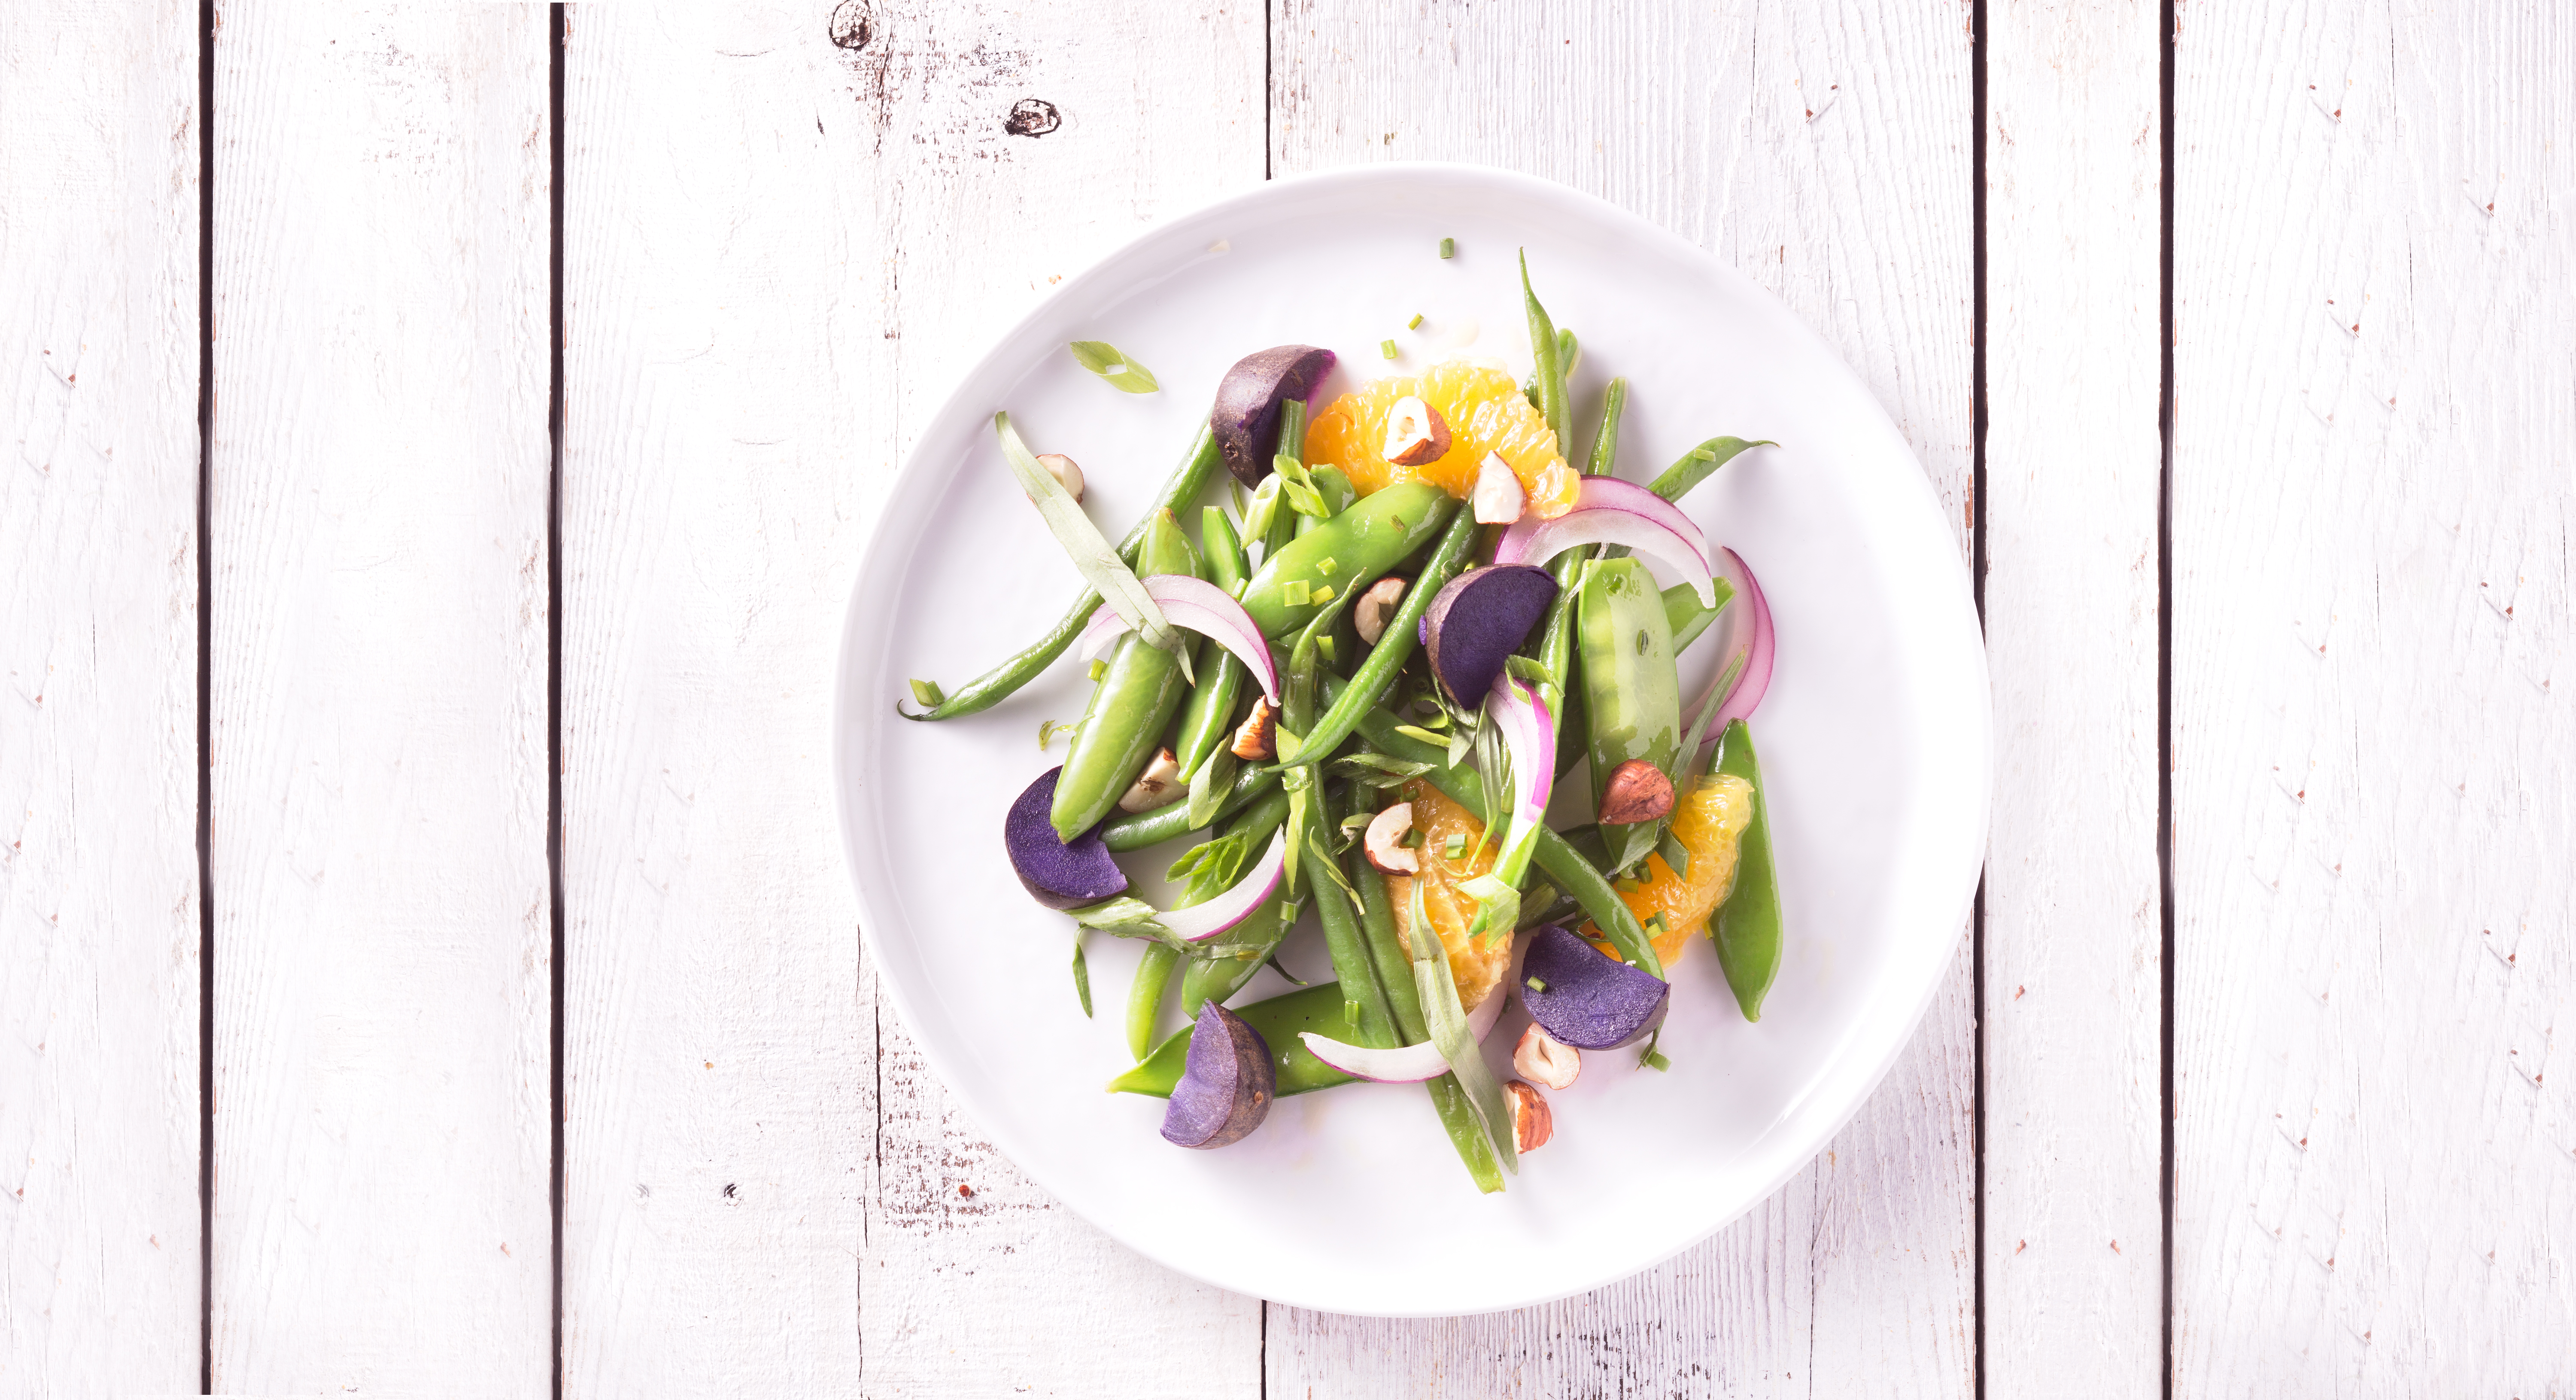
Sauteéd Vegetables with Orange Brown Butter
Between the crisp green beans, vibrant purple potatoes, and crunchy snap peas and snow peas, you’ll have a rainbow of wonderful colors in this simple yet delicious sauté. Tasty hazelnuts add even more texture, while oranges and chives make it utterly refreshing and light. Cook in a large saucepan with healthy ghee for a delicious combination that can replace the fat-packed casseroles at Sunday dinner.
Green Bean and Hazelnut Salad
Boiled green beans, or even black or pinto beans, might not sound too exciting, unless you have this tasty recipe. To prepare, simply cook the beans until they’re still slightly crisp. And then the real fun begins: add in a nutty walnut oil vinaigrette (made from apple cider vinegar, walnut oil, and Dijon mustard), creamy ricotta, and some toasted hazelnuts. What makes this salad such a crowd pleaser is the variety of flavors, textures, and colors that all come together perfectly. An added bonus: the dish comes together in 15 minutes or less.
Photo credit: Alicia Cho, Paul Delmont


